Monday, 30 September 2013
Friday, 27 September 2013
Editing the prelim
Today in the media studio we began a tutorial on editing the short shots we did for our prelim using final cut pro.
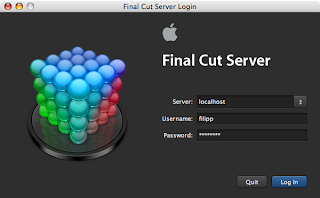
Before starting we were shown the program final cut server that transfers the shots from the Sony nx5 to final cut pro, we were told that most film makers normally wouldn't use final cut pro due to its lack of very detailed ability to edit. They normally use a program called AVID.
We then began final cut pro and transferred the films we took , beginning by making a "bin" and naming the "rush bin", which is basically a folder for the shots that were not going to be used for editing. Then we made a "log bin", this is where we placed shots that would be edited, we learnt that when placing a file into the log bin from the rush bin , we were only duplicating the file and placing the duplicated version into the log bin , so all of our old work was still saved in the rush bin.
Then we began the editing , only learning how to "cut" different shots so that they linked up and flowed into one another , selecting different shots from the log bin and cutting them , using the I key and the O key. I standing for IN and O standing for OUT, u select the length of the clip your cutting by using the two keys , then dragging them so that they link up with one another.
Sony NX5
Last Thursday we learnt a few of the basic steps to setting up and using the Sony nx5.
we began by...
we began by...
1.setting up and extending the tripods used for holding the camera.
2.Then centred the camera on the tripod by using the bubble mechanism on the camera.
3.Focusing the camera , by using auto focusing and manually doing it ourselves.
4.zooming in and out manually.
5.we learnt how to white balance the camera , by zooming into a white object , and taking up the whole view with white ,it allows for the camera to adapt to the surrounding colours.
First Blog
My Names Felix
I am a media As student at Hurtwood House. I enjoy films ,dramas ,comedies and action films are what I watch most of the time.
City of god
Blow
I am a media As student at Hurtwood House. I enjoy films ,dramas ,comedies and action films are what I watch most of the time.
kids
Stand by me
City of god
Subscribe to:
Comments (Atom)


